Professional China Dr X-Ray - Portable Dental X-Ray Unit AMIB275 for sale – Amain Detail:
Quick Details
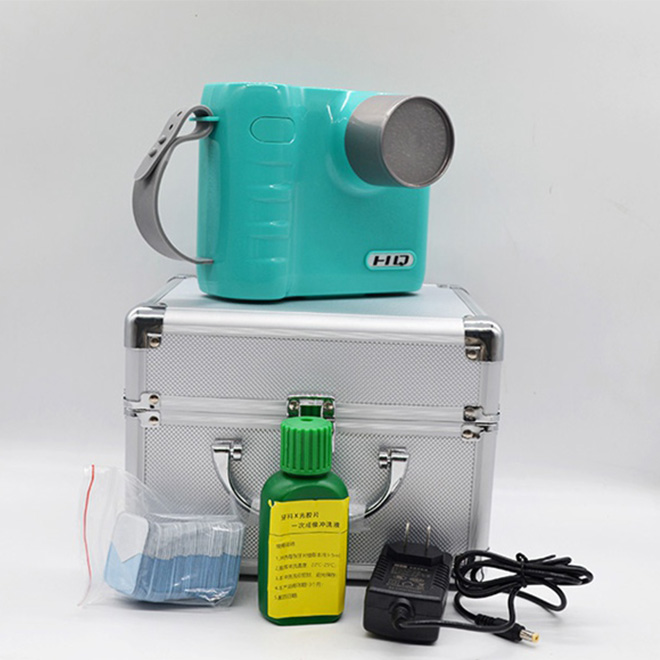
Structure t is simple
Suitable for oral treatment
Indispensable in daily life clinic.
The battery is durability
Connected with intra-oral digital x-ray imaging system
Packaging & Delivery
| Packaging detail:Standard export package Delivery detail:within 7-10 workdays after receipt of payment |
Specifications
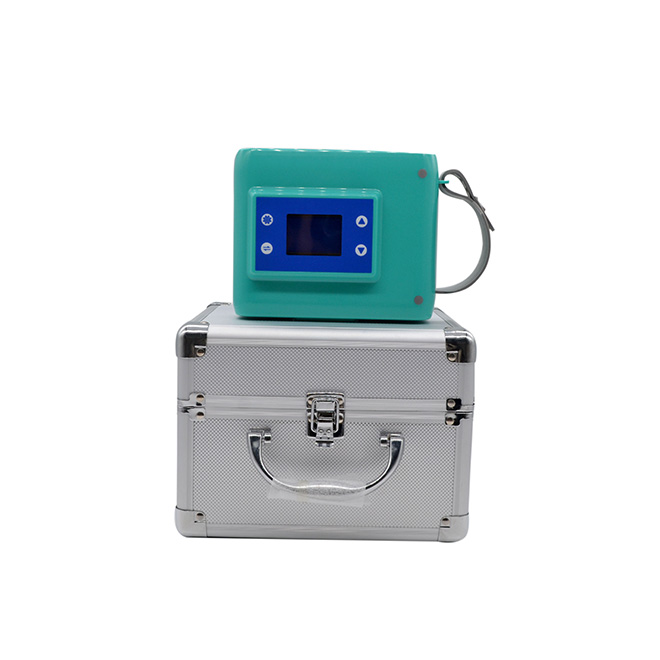
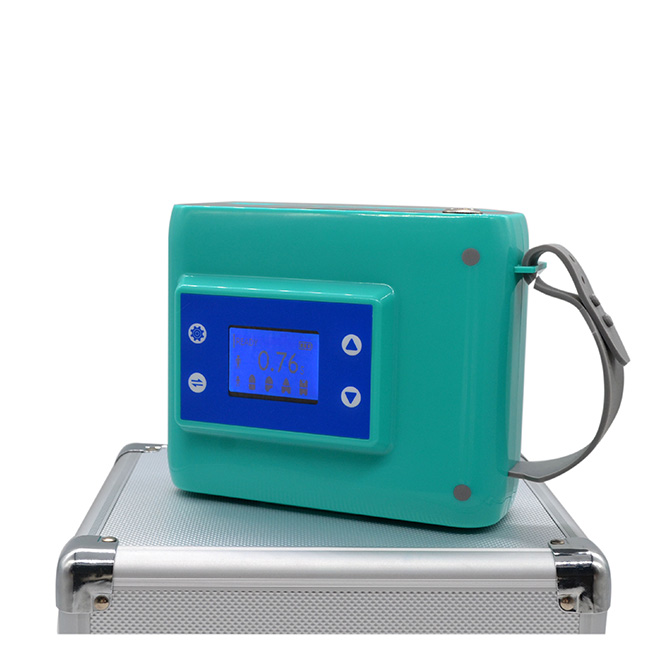
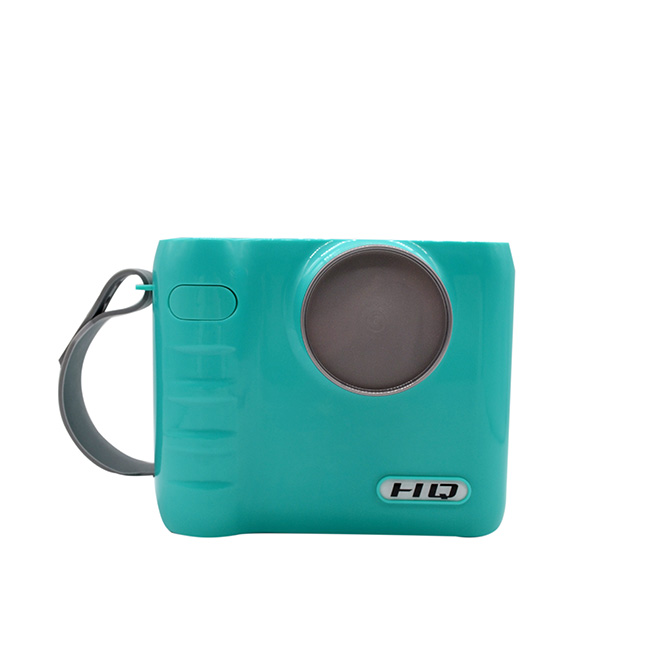
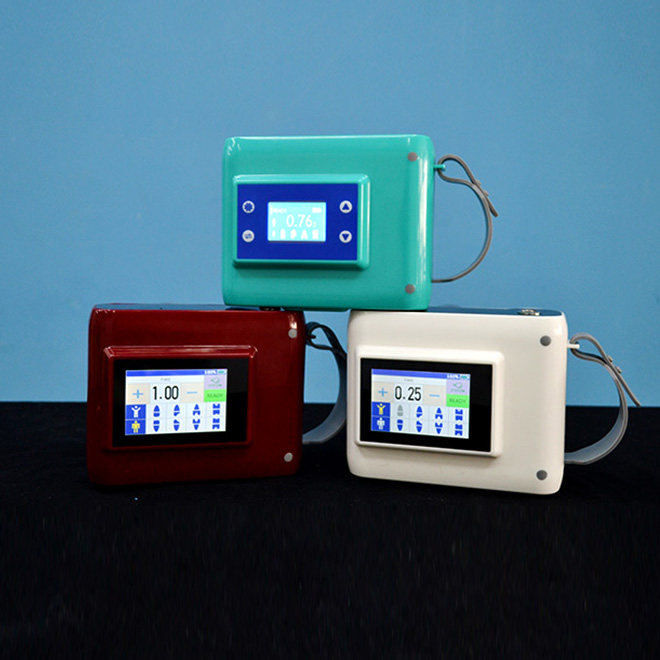
Portable Dental X-Ray Unit AMIB275 for sale
Foreword
Welcome to our portable high frequency dental x- ray unit. In this manual, technical performance, installation steps, usage,
maintenance and precautions of this unit are all introduced in details. Therefore, please read this manual carefully before using
the unit.
Product name, model and specification
Product name: X-ray unit
Model and specification: AMIB275 1.2mA 60KV
Conditions for Storage and Use
1.Storage conditions:
Ambient temperature: -20-709
Relative humidity:≤75%
Atmospheric pressure: 50 ~ 106Kpa
2.Operation conditions:
Ambient temperature: 10 ~ 40
Relative humidity:≤75%
A
tmospheric pressure: 70 ~ 106Kpa
3.Power supply conditions:
Charger: Input 220V; 50Hz; Output 16.8V
Structure, W orking Principle and Technical Parameters
1. Structure and working principle
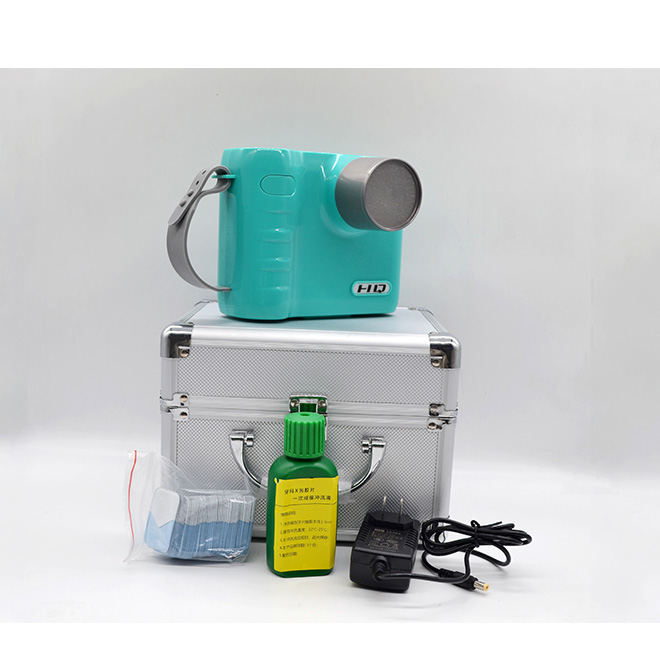
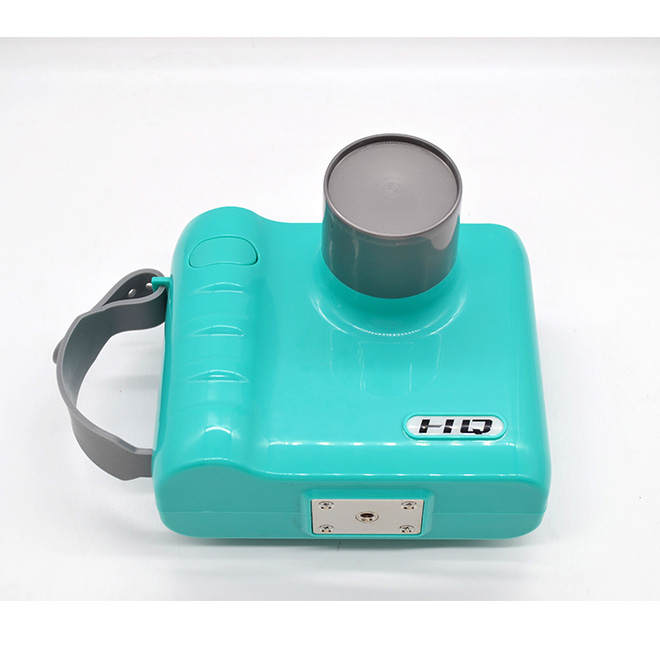
The structure of this unit is simple, mainly composed of the x-ray device, charger and bracket.
Working principle
The internal power of the device, after converted by the control wiring, is in one circuit sent to a boost device to generate a high voltage supplied
to the anode of the x-ray tube, and in the other circuit, filament voltage is formed and supplied to the cathode of the x-ray tube. In this way, the x-ray
is generated.
Technical parameters .
Tube voltage
60KV
Tube focus
0.3mm*0.3mm
Tube current
1.2 mA
Battery
DC16.8V 2300mAh
Exposure time
0.2 ~ 3.2S
Input voltage:
220V; 50Hz
Frequency
30KHz
Output voltage
DC16.8V
Rated power
60VA
Product dimension (mm)
180mm* 140mm* 140mm
Focal spot to skin distance
100mm
Packaging dimension (mm)
3 10mm*275mm*255mm
Main technical parameters for X- ray tube:
Nominal operating
voltagenominal
(KV )70
nominal focal spot value0.8
Target surface angle19°
Filament parameters
current(A)2.0
voltage(V)2.85±0.5
Fluoroscopic load(W)150
Anode heat
capacity(KJ)70
4. Safety
Protective grounding resistance:≤0.20
Leakage current to ground:≤2.0mA
Leakage current of the housing:≤0.1mA
Dielectric strength between grounded metal parts and power supply:≥1500V
Dielectric strength of the high voltage generator: >1.1 times the tube voltage
The safety factor of the suspension (X- -ray generator)≥4
Installation of equipment
1.Installation
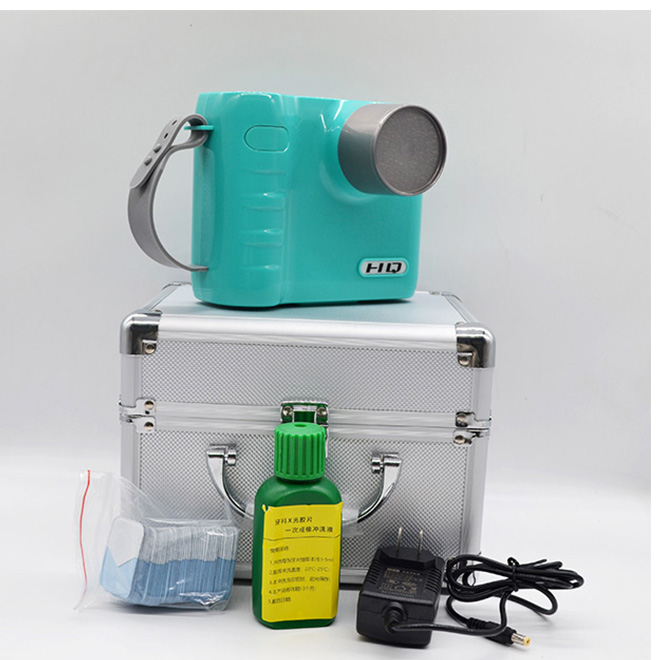
After receiving the unit, please first open the package and check the parts according to the
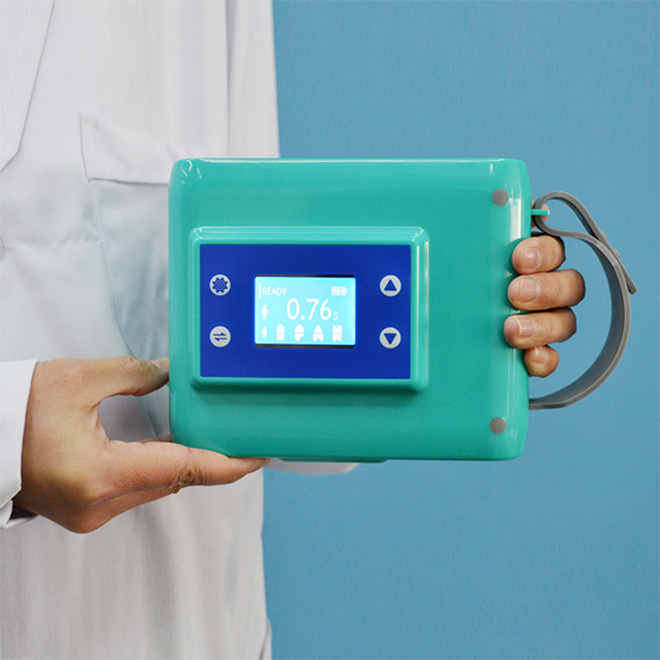
packing list before installation. This equipment is easy to install. It can be used directly held by hand
or placed on a rack. Please operate strictly in accordance with the technical data. After installation and
before starting the equipment, please make sure that the unit and mobile bracket have been efectively
fixed.
2. Effective operating area
See the picture on the right.
Operating Instruction
1. Startup:
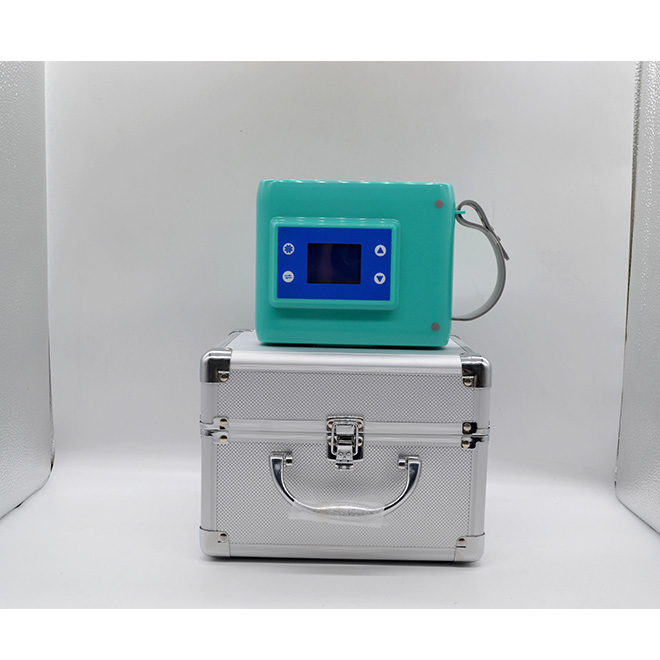
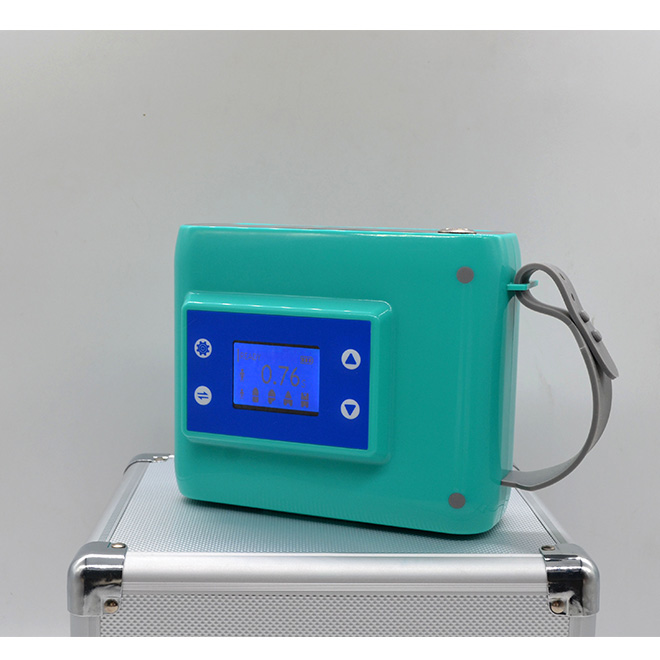
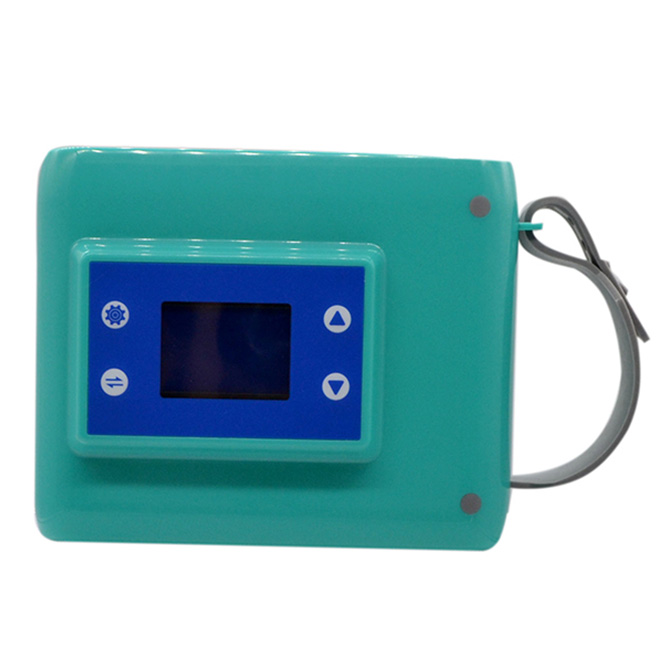
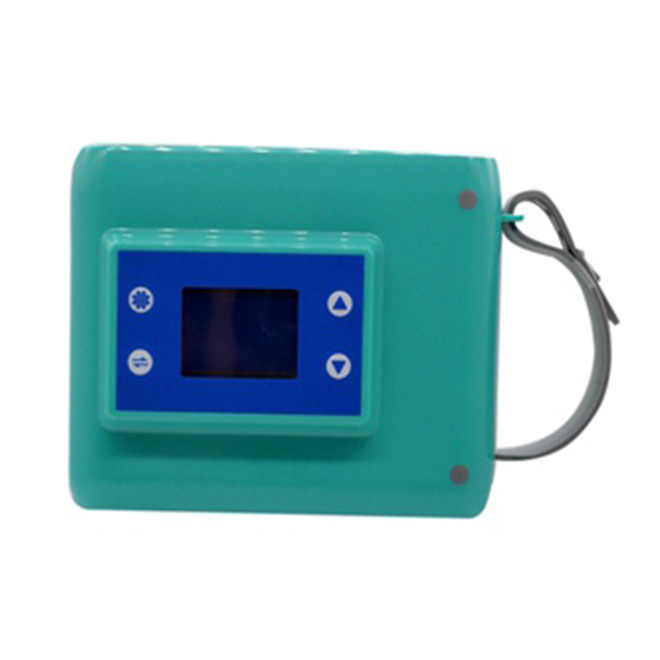
Press the①Power button shown in figure 1 to start the unit , After it starts up, the LCD screen displays the operation interface as shown in
figure 2.
2. Set the mode, tooth position and exposure time
a.Mode setting: Press the button [⑦Child/Adult selection ] shown in figure 2 to select the mode you need.
b.Tooth position selection: Press the button [⑥hooth position selection ] shown in figure 2, select the tooth position you need. Each time you
click, the tooth position icon changes to different tooth positions.
c.Exposure time adjustment: Press the button [⑧exposure time adjustment ] ,Exposure time up, Exposure time down (Each time you
press this, the time will be 0.05 second up or down).
3.. X- ray film (sensor) placement
Put the x- -ray film or sensor into the patient's mouth. To shoot the side of the tooth, you can fix the x- -ray film or sensor with a positioner.
4. Shooting position adjustment
Change the angle of the unit by adjusting the mobile bracket to align the beam applicator with the tooth to be shot.
5. Exposure
a.Press the [④Exposure button ] shown in Figure 1 to start exposure according to the preset conditions(Release the button and the exposure will
stop immediately). The exposure status on the LCD screen shows EXP during exposing.
value
angle
(A)
(V )
(KJ)
70
0.8
19°
2.0
2.85土0.5
150
70
●Filtration: : 1 mmAL
●Target surface material: tungsten
b. Exposure starts and ends with a beep, and when it finishes, the LCD screen displays the preset exposure conditions which will be
automatically memorized.
6. Device shutdown
Press the [①Power button] shown in Figure 1 and hold for two seconds, then release it, and the device will be shut down.
7. Charging
VIf the battery voltage is too low to work normally, please charge it in time;
VIf the unit will not be used for a long time, please charge it once a month to ensure the normal performance of the battery; please use the
original
V charger of the unit when charging;
V When finish charging (the LED indicator of the charger turns red from green), please unplug the DC output cable from the charging port, and
then put the charger away.
VI .Cautions and Warmnings
1. Cautions:
◆Make sure equipment users have been trained.
◆For pregnant patients, please consult the doctor before shooting.
◆Excessive radiation can cause slight harm to the human body.
◆Recommended humidity for storage: 10~ 75% RH.
◆Recommended humidity for use: 15 ~ 70% RH.
◆Optimum humidity range: 15 ~ 60% RH.
◆Recommended temperature for storage: 10~40° C.
◆Recommended temperature for use: 10 ~ 35° C.
◆Optimum temperature range: 10 ~30° C.
Additional remarks:
◆Since there are high voltage x-rays inside, please don't disassemble or repair the device without permission. Improper use will cause injury to
users and patients.
◆Non-professionals are not allowed to use or repair the unit.
◆If any problem or error that cannot be solved, please stop using it immediately and contact the designated factory.
◆Please charge within the range allowed by the device (220V, 50Hz).
◆A slight elctrie shock may occur when connecting power or moving the device.
◆Do not touch the device with wet hands.
◆Improper chargers will cause damage to the battery.
◆Don't discard the used batteries randomly. Please put them in the designated recycling bin.
◆Keep the equipment clean and wipe it with a soft cotton cloth every time you disinfect it. Please turm off the main power before you disinfect
it, and never allow liquid to flow into the device to avoid short circuit or corrosion.
◆Disinfect the device with 75% medical alcohol and wipe off the disinfectant with a wet towel.
2. Warnings
◆When finish charging (the LED indicator of the charger turns red from green), please uplug the DC output cable from the charging port, and
then put the cables away.
◆Batteries are consumables. Each device is equipped with only one original battery. If you need to purchase it, please contact the
manufacturer.
◆It is strictly prohibited to use the device while charging.
IX .Maintenance
Since the device involves operation and diagnosis, it shall be inspected annually to ensure the safety. In addition, this equipment involves high
voltage or electrical control parts, so attention should be paid to check the safety of its insulation.
Battery maintenance
V Please have the device fully charge before using it for the first time.
V W hen the battery of the device is low, it must be charged immediately. The device should be charged with over 80% power when the device is
not used for a long time, and the battery should be charged every one month to avoid over- -discharge of and damage to the battery.
V Please continue charging for two hour when the red light of the charger turns green, as that does not indicate that the battery is fully charged.
V Lthium batteries are not resistant to impact, high temperature, humidity, electromagnetic waves, high voltage, etc., so when transporting and
using the device, please pay attention to the environment and handle it gently.
V Please use the original charger instead of inferior or other chargers.
X .Failures and Solutions
If the equipment fails, most of the problems can be solved by the fllowing methods.
1Failures
Reasons/ 2Solutions
1The display is abnormal or there is a crash after start-up.
2Try to switch it off and on; check if the battery is low and charge in time.
1.Unable to start exposure normally exposure terminated.;
2.There is a release while pressing the button.
.
1.X-ray film is dark/overexposed.
2.
Exposure time/developing time is too long.
1.
X-ray film is whitish/underexposed.
2.Exposure time/developing time is not enough; the beam applicator deviates from the x-ray
film or is far from the skin; the battery voltage is too low.
1.the x-ray film or the
X-ray film is gray and unclear.
2.The bright room developing solution is not applied on the film evenly;
device moves during exposure; the film or bright room developing solution is invalid.
XI.Electromagnetic compatibility
In order to ensure the electromagnetic compatibility of this equipment, this equipment needs to be installed, debugged and used in accordance
with the accompanying documents. Portable and mobile radio frequency communication equipment may affect the electromagnetic compatibility of
this equipment, so please stricly follow the installation and operation in the accompanying documents of this equipment, If you have any other
questions, please contact our after- sales staff.
1.Electromagnetic compatibility: This equipment will cause electromagneticinterference to other equipment through the air or connecting cables.The basic performance of this equipment has the required immunity to electromagnetic interference.
2.Solutions for common problems of electromagnetic compatibility:
Operate strictly in accordance with the requirements of the instruction manual of this equipment in case of electromagnetic interference.
Keep other equipment away from the device to reduce electromagnetic interference.
By adjusting the relative psitntintiallation angle between the device and other equipment, electromagnetic interference can be reduced.
Electromagnetic interference can be reduced by changing the wiring position of other equipment power/signal cables.
Electromagnetic interference can be reduced by changing the power path of other devices.
3.Cables and accessories provided with the equipment
Name
length(m) Block or not
Remarks
Power cord
1.27
No
From mains supply to charger
Charger cable
l.02
No
From charger to device
4.Note: This device can only be connected with the cables mentioned in the accompanying documents. Using non-original accessories and cables to connect with this device may result in an increase in the electromagnetic radiation of the device or a decrease in immunity.
This equipment should not be used close to or stacked with other equipment. If it must be used close or stacked, it should be observed to verify
whether it can operate normally.
5.Note: This product is not allowed to be turned on when it is charging
6.Basic performance: When powered by a battery, different tooth positions can be selected, exposure time can be selected, and radiation can be
generated. When charging, the device shuts down and the charger power indicator lights up.
XI.Notes
1.Please do not use or store this device near fire sources or flammable or explosive chemical liquids or gases.
2.Please do not use or store the device outside the atmospheric pressure and temperature range.
3.Please ventilate the storage area of the device and avoid direct sunlight.
4.Patients and escorts shall lake adequate protection when shooting, such as lead leather gloves, lead caps, etc.
5.Excessive radiation can cause slight harm to the human body, so please minimize the time in the place of use and stay as far away from the x-
ray source as possible.
6.Due to the internal x- -ray tube and transformner oil, non-professionals are not allowed to use, disassemble or repair the device.
7.Please use the original charger, or it will cause damage to the battery. When the device is not in use for a long period, please charge it once a
month to extend the battery life.
8.Before shooting, please ask the patient to take off the glasses, removable dentures, hair clips and other metal parts that will enter the filming
range to avoid image ilusion.
9.Please Install the device as far from other electrical equipment as possible.
10. Electromagnetic interference can be reduced by adjusting the relative position / installation angle between the x-ray unit and other devices.
11. Electromagnetice interference can be reduced by changing the wiring position of the power supply of other equipment.
12.The speified electromagnetic compatibility environment is shown in Table 3 and Table 4.
13. If any problem or error that cannot be solved, please stop using it immediately and contact the designated after- -sales service staff.
XIII.Electrical Schematic
The company promises to provide the electrical schematic and component list when necessary for the users.
XI.Notes
1.Please do not use or store this device near fire sources or flammable or explosive chemical liquids or gases.
2.Please do not use or store the device outside the atmospheric pressure and temperature range.
3.Please ventilate the storage area of the device and avoid directsunlight.
4.Patients and escorts shall take adequate prolection when shooting, such as lead leather gloves, lead caps, etc.
5.Excessive radiation can cause slight harm to the human body, so please minimize the time in the place of use and stay as far away from the x-
ray source as possible.
6.Due to the internal x-ray tube and transformer oil, non-professionals are not allowed to use, disassemble or repair the device.
7.Please use the original charger, or it will cause damage to the battery. W hen the device is not in use for a long period, please charge it once a
month to extend the battery life.
8.Before shooting, please ask the patient to take off the glasses, removable dentures, hair clips and other metal parts that will enter the filming
range to avoid image ilusion.
9.Please Install the device as far from other electrical equipment as possible.
10. Electromagnetic interference can be reduced by adjusting the relative position / installation angle between the x-ray unit and other devices.
11. Electromagnetic interference can be reduced by changing the wiring position of the power supply of other equipment.
12.The speeifed electromagnetic compatibility environment is shown in Table 3 and Table 4.
13. If any problem or error that cannot be solved, please stop using it immediately and contact the designated afer-sales service stalf.
XIII.Electrical Schematie
The company promises to provide the electrical schematic and component list when necessary for the users.
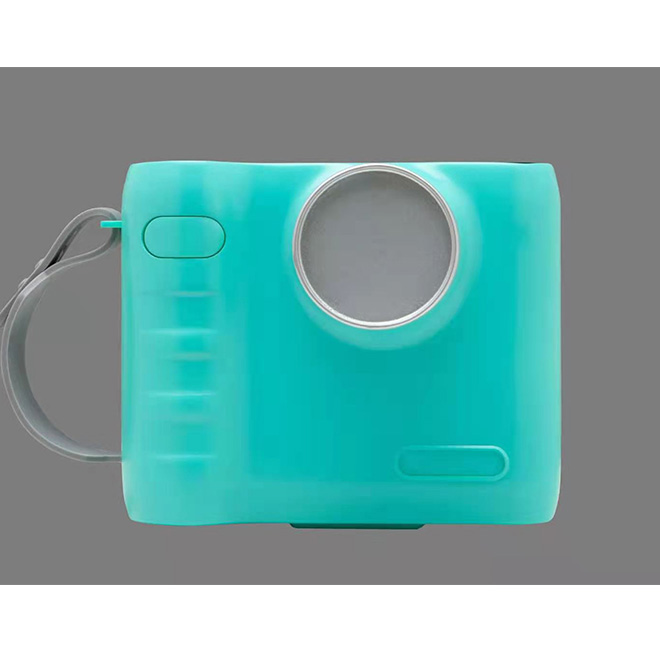
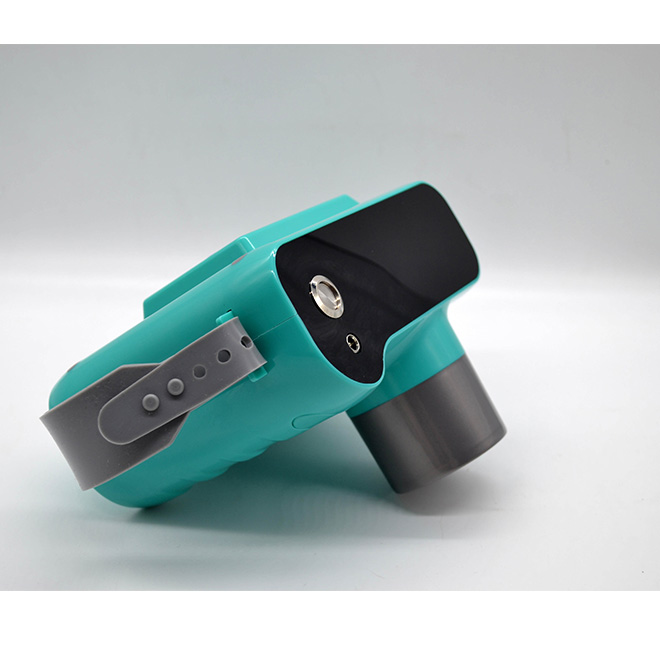
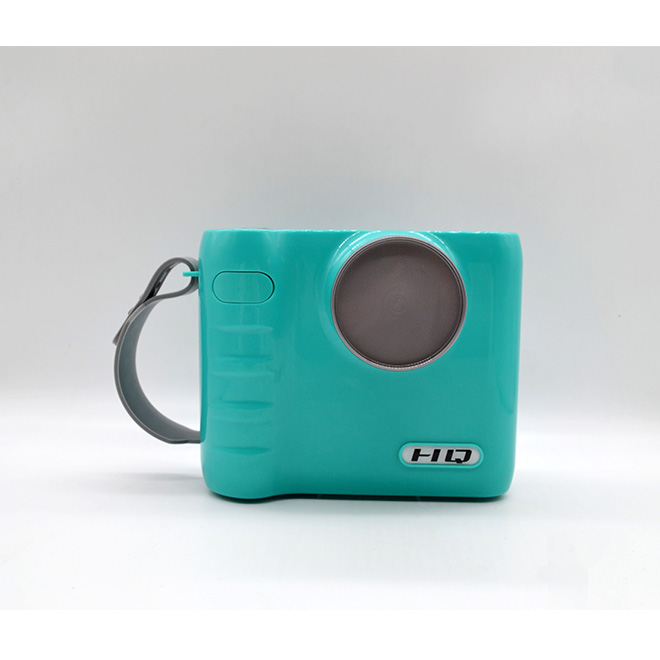
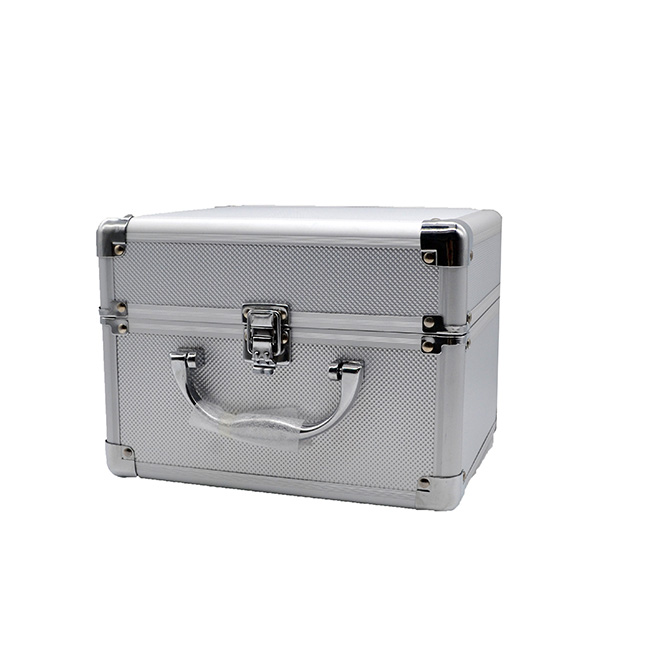
Product detail pictures:
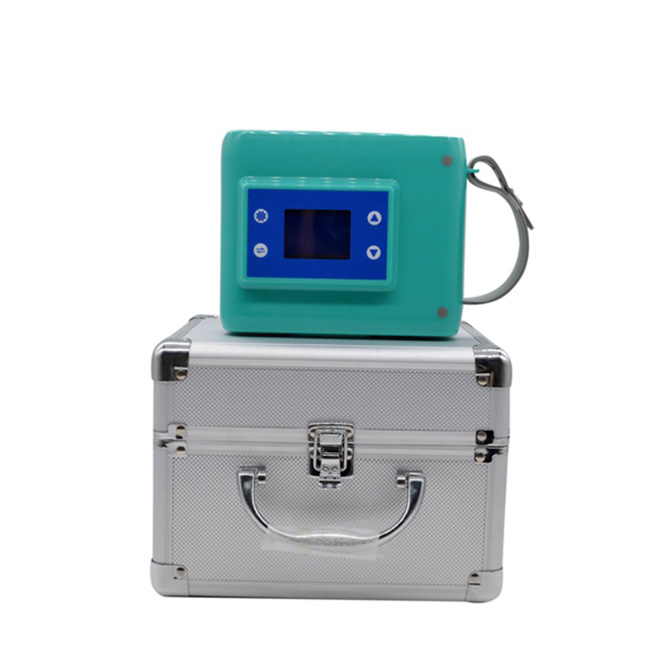







Related Product Guide:
"Based on domestic market and expand overseas business" is our development strategy forProfessional China Dr X-Ray - Portable Dental X-Ray Unit AMIB275 for sale – Amain, The product will supply to all over the world, such as: Costa Rica, Mauritius, New Orleans, Our team knows well the market demands in different countries, and is capable of supplying suitable quality products and solutions at the best prices to different markets. Our company has already set up a experienced, creative and responsible team to develop clients with the multi-win principle.
Sales manager is very enthusiastic and professional, gave us a great concessions and product quality is very good,thank you very much!

